
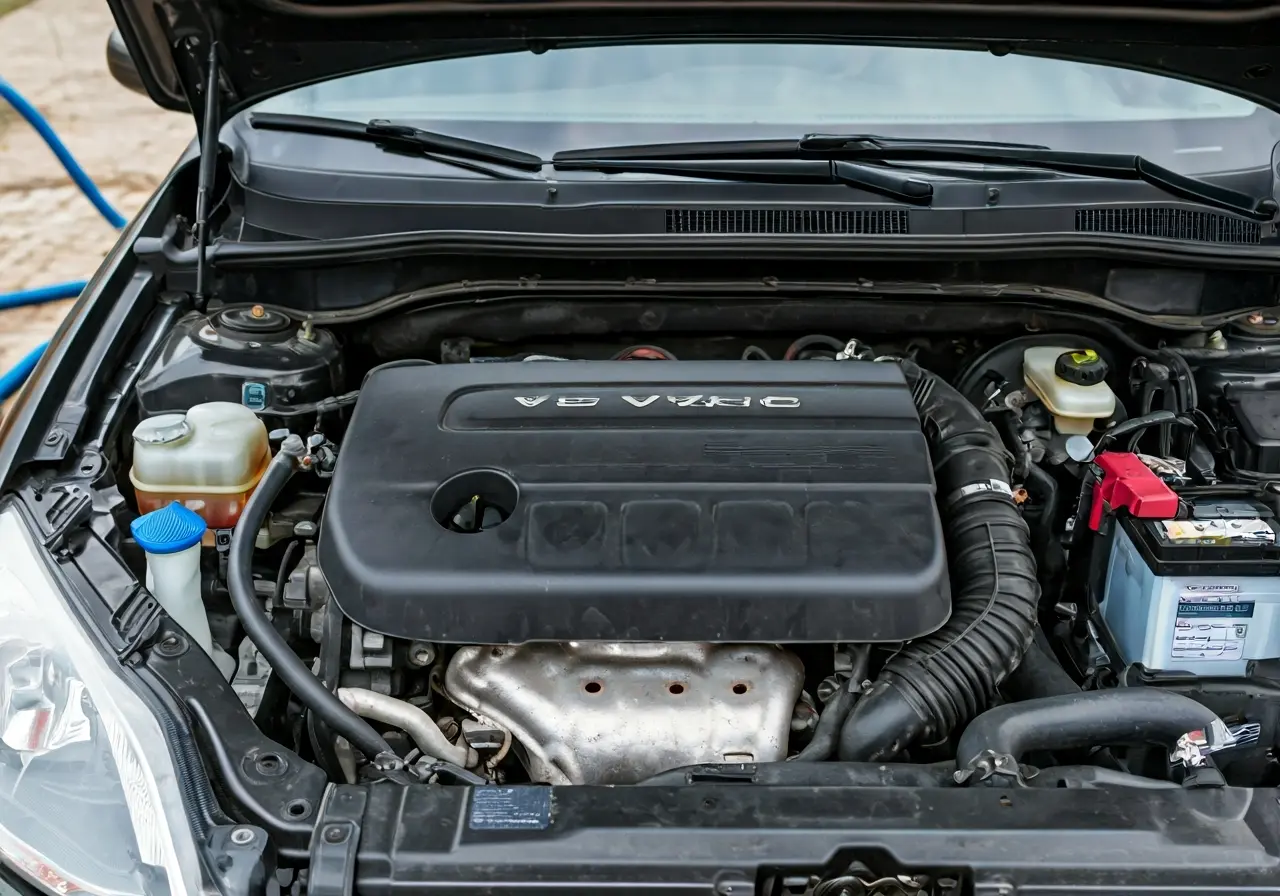
Maintaining a clean engine bay not only enhances the appearance of your vehicle but also contributes to its longevity and performance. With the right approach, an engine bay wash can be a simple and satisfying task you can accomplish at home. In this guide, we’ll walk you through ten helpful tips to ensure your engine bay is sparkling clean.
1. Gather the Necessary Supplies
Before you start, make sure you have all the required tools and materials ready. This includes a good degreaser, brushes, microfiber towels, and water. Having everything prepared will make the process smoother and more efficient.
In addition to the basics, consider whether you need any specific cleaners designed for engine bays or rubber protectants for your hoses. Sometimes, investing in specialized cleaning solutions can make the task easier and provide better results. A proper supply list can make the difference between a frustrating experience and a fun, relaxing task.
By starting your preparation with all these items at hand, you’ll be able to maintain a competitive advantage in terms of efficiency, ensuring your engine bay wash goes smoothly from start to finish.
2. Ensure the Engine is Cool
It’s crucial to let the engine cool down before you begin cleaning. A hot engine can cause burns or damage parts when sprayed with cold water. Waiting at least 30 minutes after using your car should be sufficient in allowing the engine to cool properly.
Patience during this step is a safety measure. You wouldn’t want to risk compromising the engine block or other components. Furthermore, ensuring the engine is cool also helps cleaning agents work more effectively, as they won’t evaporate too quickly.
3. Protect Sensitive Components
Cover electrical components such as the battery, alternator, and any exposed wiring with plastic bags or foil. This prevents water from causing damage to these sensitive areas. Using painter’s tape can help to secure the coverings and prevent them from dislodging during washing.
Failing to protect these components can lead to costly electrical issues. Take the time to ensure everything important is covered before proceeding. This step saves you from potential headaches and makes the process much more secure and effective.
4. Start with a Pre-Rinse
A gentle pre-rinse with water helps to loosen dirt and grime, making it easier to clean. Use a spray bottle or a low-pressure hose for this step to avoid damaging components. A thorough pre-rinse sets the stage for deeper cleaning by easily removing the loose dust and debris that have accumulated.
Use slow and steady movements to cover the entire engine bay. It’s essential to focus on the larger areas which accumulate more grime from everyday use, such as the underhood insulation and the top of the engine block.
5. Apply a Quality Degreaser
Spray a degreaser evenly over the engine bay, focusing on areas with heavy dirt buildup. Allow it to sit and penetrate the grime for a few minutes. It’s important to choose a degreaser compatible with aluminum or chrome parts to avoid corrosion.
Be attentive to particularly oily areas like the valve cover. The degreaser will break down oils and other contaminants, paving the way for effective mechanical scrubbing. Using a specialized engine cleaner can boost the overall performance of this step.
6. Scrub Away the Dirt
Use brushes to scrub the dirt and grime from the surfaces. For hard-to-reach areas, you can use smaller brushes or old toothbrushes to ensure every nook and cranny is clean. Gently scrub in a circular motion to lift the dirt without damaging paint or plastic parts.
Reapply the degreaser if necessary, especially if there’s stubborn grease that requires extra attention. Your goal is to leave the engine bay absolutely spotless, preparing it for the final rinse and dry steps.
7. Rinse Thoroughly
After scrubbing, rinse the engine bay with water to remove the degreaser and the lifted dirt. Ensure all cleaning products are thoroughly washed away to avoid residue build-up. Use a low-pressure stream to prevent any damage to delicate components, and direct it where the degreaser was most heavily applied.
Check twice to ensure that there’s no degreaser left in any of the crevices. Leftover residue can cause grime to accumulate faster in the future, so take your time during this step for the best long-term results.
8. Dry the Engine Bay
Use microfiber towels to dry the engine bay, paying special attention to electrical components to remove any residual moisture. This prevents water spots and ensures that all areas beneath coverings are completely dry.
For larger surfaces, a leaf blower can be an effective tool to expedite the drying process. Ensuring thorough drying is crucial to prevent future corrosion and protect the integrity of car parts.
9. Perform a Final Check
Look over the engine bay to ensure it’s thoroughly cleaned. Check for any missed spots and address them as needed. This step ensures your engine bay is as clean as possible.
Inspecting every corner can help you spot potential issues early, such as leaks or worn parts. Consider whether additional detailing would enhance your work or if protective measures like rubber conditioning are needed.
10. Start the Engine
Once everything is clean and dry, start the engine to ensure it runs smoothly. This is also an opportunity to ensure no electrical components were disturbed during the cleaning process. It’s wise to let the engine run for at least 15 minutes to let residual water evaporate.
A well-cleaned engine should perform optimally, reflecting your hard work and attention to detail. If any issues arise, don’t hesitate to revisit the process and pinpoint where things might have gone astray.


Leave A Comment