
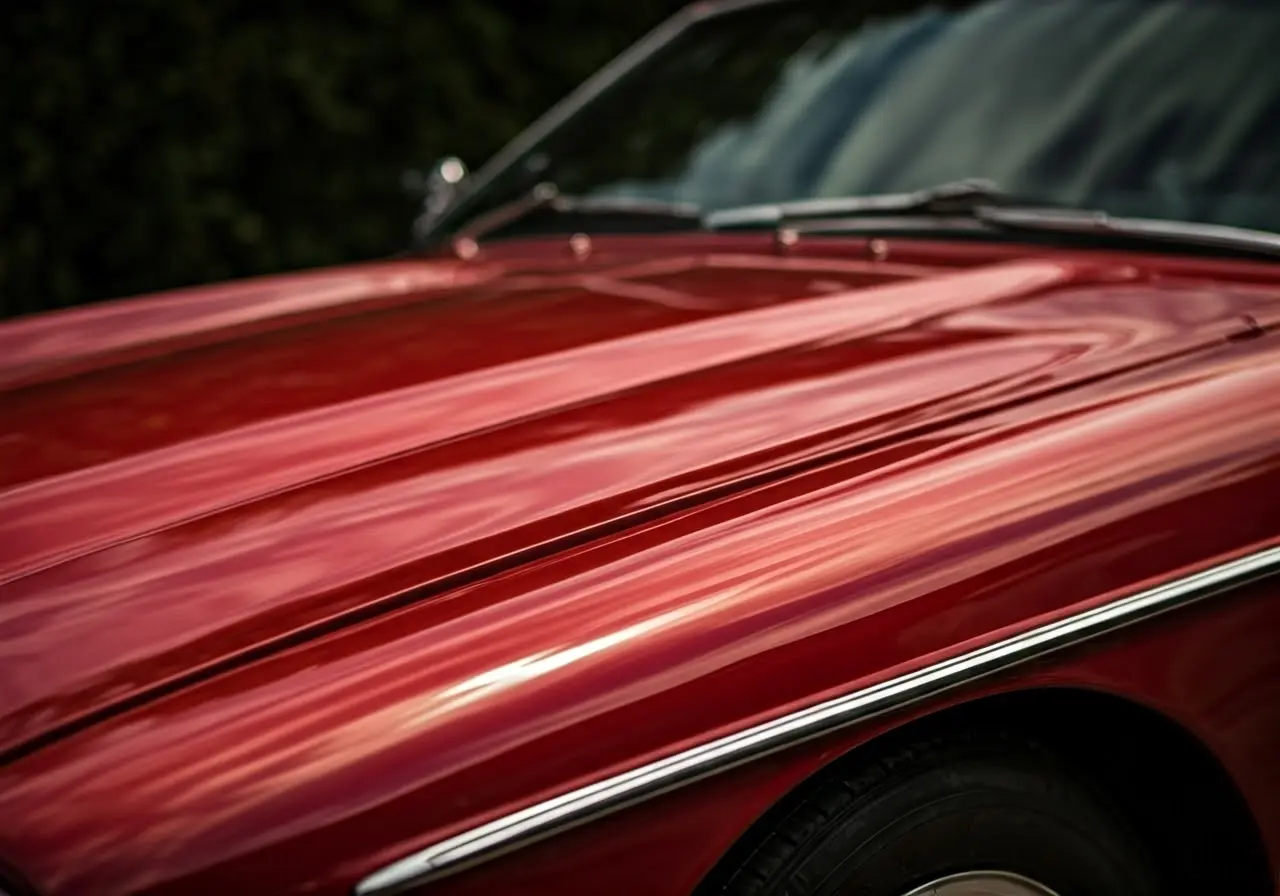
Achieving that showroom shine on your car can be quick and easy if you know the right steps. Whether you’re a car enthusiast or a casual driver wanting to spruce up your ride, applying car glaze can make a significant difference in the appearance of the vehicle. Follow these simple steps and watch your car transform into a glossy masterpiece!
1. Gather Your Supplies
The first step in any car care task is ensuring you have all necessary items on hand. For glazing, you’ll need the car glaze itself, a clean microfiber cloth, an applicator pad, and a good car wash solution. Consider investing in quality products that enhance the glazing process. A well-chosen applicator pad will make all the difference in achieving that even, layered shine. It’s wise to keep a spare pad or two on hand just in case.
A key component of your glazing kit is the clay bar. This tool will be invaluable in removing contaminants from the car’s surface before you apply the glaze, ensuring the product adheres properly and lasts longer. To maximize your results, become familiar with how glazes work in detailing.
2. Choose an Ideal Location
Select a shaded, cool area to work on your car. Direct sunlight can cause the glaze to dry too quickly, making it harder to achieve that smooth finish. Working under the shade will also protect you from the glaring sun while you meticulously apply the glaze to each part of your vehicle. Ideally, consider starting early in the morning or later in the afternoon when the sun is not at its peak.
3. Give Your Car a Wash
Start with a thorough wash to eliminate dirt and grime. This leaves a clean surface for the glaze to adhere to better. You might even consider a pressure washing service so that no stubborn dirt is left lingering in hard-to-reach areas. Remember, skipping this step could compromise the quality of your glaze and the overall look you’re aiming for.
Choose a quality car wash solution to ensure that no residues are left behind. This is important as residues could interfere with the bonding of the glaze, causing streaking. Pay special attention to the wheels and undercarriage, where significant dirt and grease often accumulate.
4. Dry Off Completely
Once washed, use a soft cloth to dry your car entirely. Moisture can interfere with glaze application, creating streaks. A helpful tip is to utilize a dry blower to ensure that water trapped in seams or crevices is thoroughly removed. Afterward, inspect the surface for any spots that might need further wiping or attention.
Double-check around door frames, mirrors, and emblems for leftover water drops. Addressing these before applying the glaze is crucial to prevent water marks from forming.
5. Inspect for Imperfections
Look over your car for scratches and marks that might need addressing before glazing. This ensures an even finish. Always keep in mind that while car glaze can help fill in minor imperfections, it’s not a replacement for a comprehensive polish, as explained in this auto detailing guide.
Utilize a handheld light to spot any discrepancies under different lighting conditions; the more imperfections you can identify now, the better your final result will be.
6. Apply Clay Bar if Needed
For cars with bonding contaminants, using a clay bar can help smooth the surface, allowing the glaze to perform optimally. Rub the bar gently over the car’s surface, focusing on areas where grime might be embedded, like bumpers and lower door siding. Clay bars remove impurities that regular washing can’t, such as brake dust and tiny metallic particles.
After claying, ensure you wipe down the vehicle again with a microfiber cloth. This step helps remove any clay residue, which might interfere with the glaze. The final outcome will reflect a much smoother surface that is essential for a mirror-like glaze.
7. Do a Test Spot
Choose a small, inconspicuous area to test the glaze, ensuring compatibility with your car’s paint. Performing a spot test is crucial for avoiding larger mishaps, and it allows you to adjust your approach techniques or products. Observe how the car’s paint reacts and how easily the glaze wipes away after drying.
8. Start with the Applicator Pad
Apply a generous amount of glaze onto the applicator pad. This will help achieve an even application without unnecessary excess. Over-saturation can cause streaking, while too little might not cover imperfections adequately. A helpful practice is to periodically dampen your pad slightly; this can facilitate even distribution.
9. Use Circular Motions
Apply the glaze to your car using small, overlapping circular motions. This method ensures uniform distribution of the product. Uniformity is key here because you want to maximize the reflection qualities of the glaze. It’s also a great technique to cover any swirls or small scratches your vehicle’s paint may have.
10. Cover Panel by Panel
Work on one section of the car at a time to ensure even application and avoid missing spots. A sectional approach allows focus and a systematic check for thoroughness. Complete each panel before moving to the next, ensuring no glaze is left without thorough consideration and coverage. This strategy facilitates superior shine across your whole car.
11. Let it Settle
Allow the glaze to sit on the surface for the recommended time. This provides better bonding and enhances the shine. Refer to the product’s instructions for specific duration, as each glaze might have unique settling times. This critical waiting period is what fortifies the car’s paint, enabling a longer-lasting gloss.
12. Buff with Microfiber Cloth
Use a clean microfiber cloth to buff the glaze off gently. This step brings out the gleaming shine without scratching. Buffing too hard could remove the protectiveness aspects of the glaze, whilst using a cloth made from other fiber types could introduce unwanted scratches. Always use gentle streak-free motions.
13. Reinspect Your Work
Check your work under different lighting angles to ensure that every area glows with a uniform finish. Lighting can sometimes reveal unnoticed streaks or spots where additional buffing might be needed. A final quality check with your eyes and hands will confirm your hard work has achieved the desired look.
14. Store Your Tools Properly
Clean any used tools and store them safely for future use. Proper cleaning extends their life and maintains their effectiveness. Rinse the pads and microfiber cloths thoroughly after use, making sure that they are completely dry before packing them away. Stored correctly, your tools will be in top shape for your next glazing session.
15. Maintain a Regular Schedule
Make it a habit to glaze your car regularly. Consistent maintenance will keep your car looking pristine for years to come. With the durability that a well-applied glaze provides, your car will boast its like-new shine much longer. Explore more on how regular care transforms automobiles on H2O Car Valeting’s services.


Leave A Comment