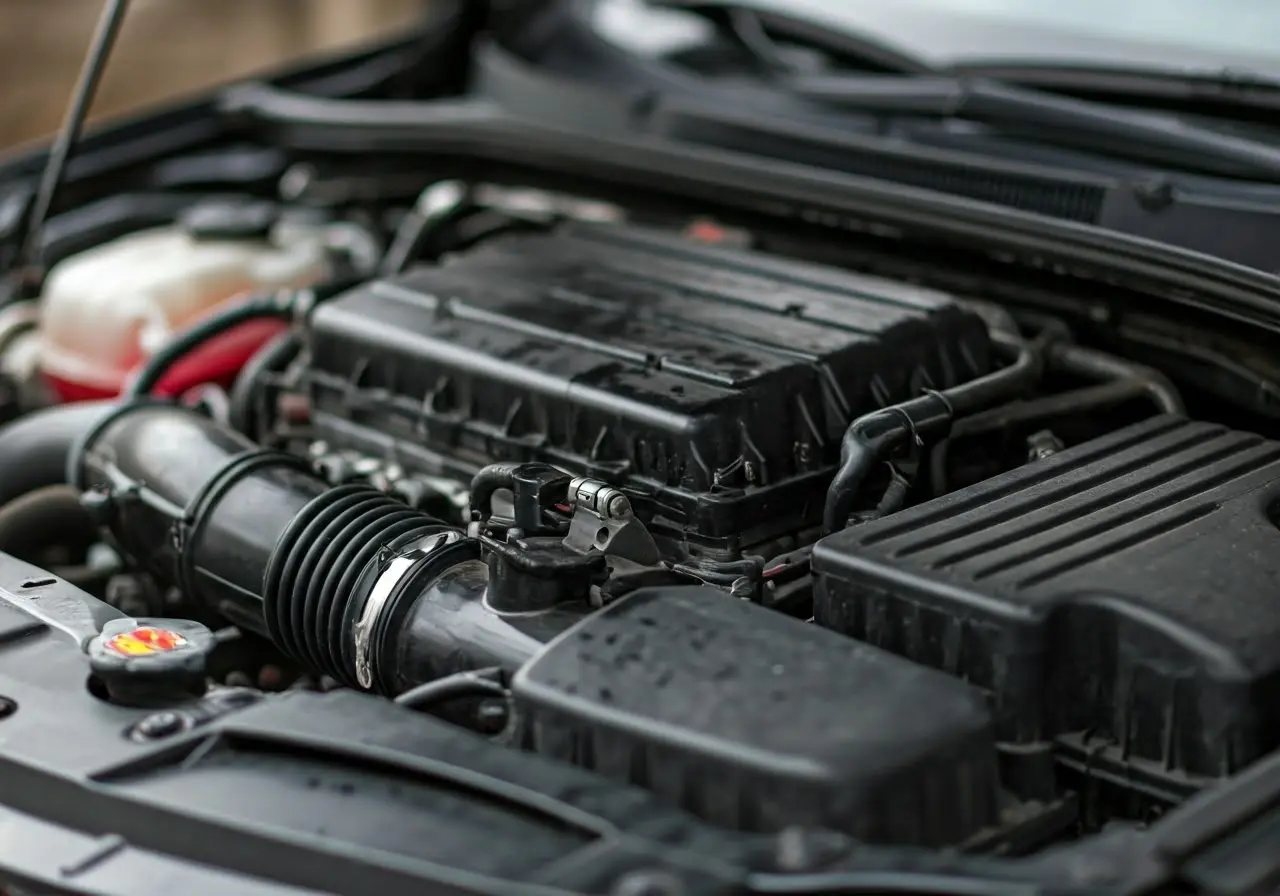
Washing your car’s engine bay might sound daunting but with the right approach, it can be a straightforward and rewarding task. In Manchester, where weather conditions can often leave engine bays grimy, it’s essential to keep things clean and running smoothly. Let’s explore the step-by-step guide to achieving a perfectly washed engine bay.
1. Gathering Your Cleaning Supplies
Start by collecting everything you’ll need: a degreaser, plastic bags, a brushing tool, microfiber cloths, and a hose with a spray nozzle. Having all your materials ready ensures a smoother cleaning process. Additionally, it’s worth considering a preparation picture of your engine bay to remember where everything belongs.
To make your cleaning efficient, have everything accessible. This setup prevents you from interrupting the cleaning process to search for supplies. By covering electrical components with plastic bags, you ensure their protection against water and cleaning solutions.
2. Preparation and Safety First
Safety should be your top priority. Before you start the cleaning process, ensure the engine is cool to avoid burns. Disconnect the battery to prevent any electrical mishaps. This pre-cleaning step is crucial as highlighted in the Shine Armor blog.
Use plastic bags and zip ties to cover all the sensitive electrical components in your engine bay. Keeping these parts dry is essential to prevent any damage. This is a good way to avoid complications right from the start and ensure a hassle-free cleaning session.
3. Degreasing the Engine Bay
Apply a quality degreaser liberally to the engine bay, paying close attention to areas with thick grime and oil buildup. This softens the dirt for easier removal. Per the 5 Star Valeting guide, aim for a formula without foam to avoid residue.
Allow the degreaser some time to penetrate and break down the gunk. While waiting, check for any other problem areas like potential leaks. Catching these early can save you from costly repairs down the road.
4. Scrubbing Away the Dirt
With a brush, gently scrub the loosened dirt. For stubborn grime, a firmer brush might be necessary. Always use a softer brush around delicate parts to avoid damage. Remember, this step blends the patience and prowess necessary for an effective engine cleaning.
Be thorough yet gentle during the scrubbing. Reassess any areas that need additional applications of degreaser, and make sure no spots are overlooked. The outcome of this meticulousness is a streamlined, contaminant-free engine bay.
5. Rinsing Off the Engine
Rinsing should be done carefully. Use a gentle spray to avoid accidents with electrical components. The aim is to remove all soap and degreaser residue, as explained by Shine Armor. Keep a check on the water pressure; too high a pressure can damage the engine parts.
Ensure you thoroughly rinse all cleaning agents away. Lingering soap can lead to buildup and deterioration over time. Once satisfied, it’s time to proceed to the drying phase.
6. Drying the Engine Bay
Utilizing microfiber cloths to dry the engine bay prevents water spots and corrosion. Drying entirely is essential for maintaining a spotless look, as outlined in guides like 5 Star Valeting.
Consider using compressed air to speed up the process, especially in small nooks and crannies. A well-dried engine bay is a tell-tale sign of a meticulous wash.
7. Reconnecting and Final Touches
Once dry, reconnect the battery and remove all protective coverings. Double-check everything is back in place. The Detailing World Forum often advises thorough rechecks to spot any overlooked areas where dirt might still linger.
8. Regular Maintenance Tips
In Manchester’s climate, regular engine bay maintenance becomes key. Establish a routine, including light cleanups and checks for leaks. For professional help, consider visiting H2O Car Valeting at the Manchester Trafford Centre for expert detailing advice.


Leave A Comment